
Shower Door Installation Guide: From Measurement to Final Fit
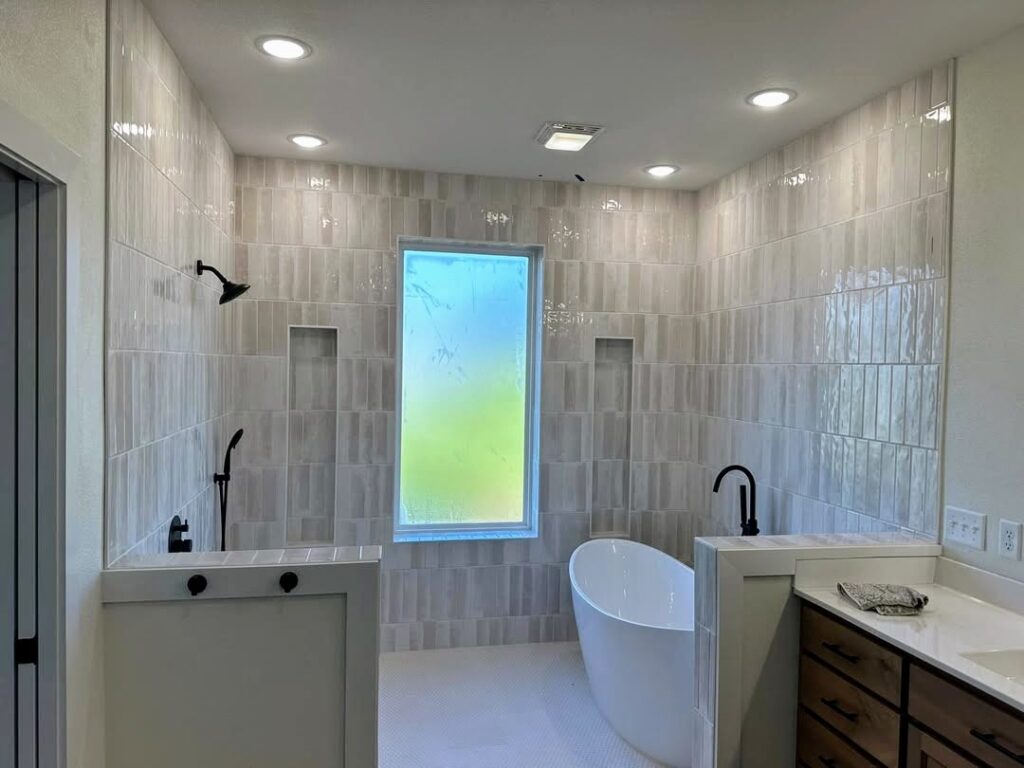
Shower Door Installation Guide: From Measurement to Final Fit A shower door changes how your bathroom looks and works every day. A good fit keeps water inside, glides with ease, and lasts for years. A poor fit leaks, sticks, and wears out fast. This guide covers each stage of Shower Door Installation, from the first measurement to the final seal along the glass. You will learn how to pick a style, measure your space, prepare the area, set the door, and test the result. Each step uses plain language so you can plan with confidence, whether you do the work yourself or want to know what a pro should do. What Types of Shower Doors Can You Choose? Three main styles fit most bathrooms. Hinged doors open out like a room door and suit wide spaces. Slider doors glide on a track and save floor space in tight bathrooms. Pivot doors turn on a center point and work well when the space is odd in size. Next, choose between framed, semi-frameless, and frameless glass. Frameless glass looks clean and modern, but it needs thicker glass and strong hardware. Framed doors cost less and forgive small errors in the wall. How Thick Should the Glass Be? Frameless doors usually use glass that is three-eighths or one-half inch thick. Thicker glass feels solid, resists wobble, and handles daily use well. Framed doors can use thinner glass, often one-quarter inch, because the frame adds support. Pick a finish that fits your style. Clear glass makes a small bathroom feel larger. Frosted or textured glass adds privacy and hides water spots. Tempered safety glass is the standard choice, since it breaks into small, dull pieces. How Do You Measure for a Shower Door? Accurate numbers decide the whole job. Walls are rarely straight, so measure in three places. Measure the width at the top, middle, and bottom of the space. Measure the height on the left, center, and right side. Use the smallest number from each set. Write every number down in inches, to the nearest eighth. Check the walls with a level to see if they lean. A wall that leans by more than a quarter inch needs a custom cut or a wider frame. Take a photo of the space and share it with your supplier. Good measurements make Shower Door Installation much easier. What Tools and Prep Work Do You Need? Gather a drill, a level, a tape measure, painter’s tape, a pencil, silicone sealant, and a caulk gun. Wear gloves and safety glasses because glass edges are sharp. Ask a helper to join you, since a glass panel is heavy and awkward. Clean the curb and walls until they are dry and free of soap scum. Remove old caulk and any rough spots. A clean base lets the track and sealant hold tight. How Do You Set the Door Step by Step? A steady plan keeps the job smooth. Here is the usual order for Shower Door Installation on a standard frameless or semi-frameless unit. Mark the wall where the hinge or track will sit, and check it with a level. Drill pilot holes and press in the wall anchors. Attach the bottom track or the hinge brackets. Lift the glass into place with your helper and hold it steady. Tighten the screws a little at a time and check how the door moves. Add the handle and the door sweep at the bottom edge. Never force a screw or a panel. Glass can crack if you tighten hardware too hard, so stop when the part feels snug. How Do You Seal the Door and Stop Leaks? Run a thin line of silicone along the outside edge of the track and the wall joints. Keep the inside edge bare so water can drain back into the shower. Smooth each line with a wet finger for a neat finish. Fit the vinyl sweep and the magnetic strip on the door edge. These parts close the small gaps where splashes escape. Let the silicone cure for at least 24 hours before you use the shower. Keep the glass dry during that time. How Do You Check the Final Fit? Open and close the door several times. It should move smoothly, stop gently, and close flat against the wall or the glass panel. Look for even gaps along every edge. Make sure the handle feels firm, and the hinges hold. Run water over the door for a few minutes. Watch the floor outside the shower for drips, and wipe the seams with a dry towel to find slow leaks. If water escapes, adjust the sweep or add a small bead of silicone. What Mistakes Should You Avoid? The biggest mistake is a rushed measurement. A quarter-inch error can leave a gap or jam the door. Measure twice, and write the numbers on paper. Other common errors include a skipped level check, wrong wall anchors, and silicone on the inside edge of the track. Each one can cause leaks, noise, or a door that sags over time. Slow down, read the hardware guide, and test each step. Should You Hire a Pro or Do It Yourself? A skilled homeowner can handle a framed door with basic tools. Heavy frameless glass is harder, since one slip can break an expensive panel. Local glass shops, such as Reliable Glass in Joplin, handle this work daily and know how to fit glass to uneven walls. Weigh the risk before you decide. If your walls are crooked or the glass is custom cut, a pro can save time and prevent costly mistakes. If the job feels simple, a careful DIY approach can work. How Do You Care for a New Shower Door? Wipe the glass with a squeegee after each shower. This step stops water spots and mineral buildup. Use a soft cloth and a mild glass cleaner once a week. Avoid harsh powders and scrub pads, because they scratch glass and wear off coatings. Check the